If this is your first time in .NET development, welcome! This first guide should help you set up your environment so you are prepared to make your first plugin.
1. Install the .NET SDK
Download and install the latest .NET SDK for your platform. Anvil requires a minimum of .NET 8 or higher
https://dotnet.microsoft.com/download
After installing, verify the dotnet command works in the command line
dotnet --version
You should get a version output similar to the following
dotnet --version
10.0.100
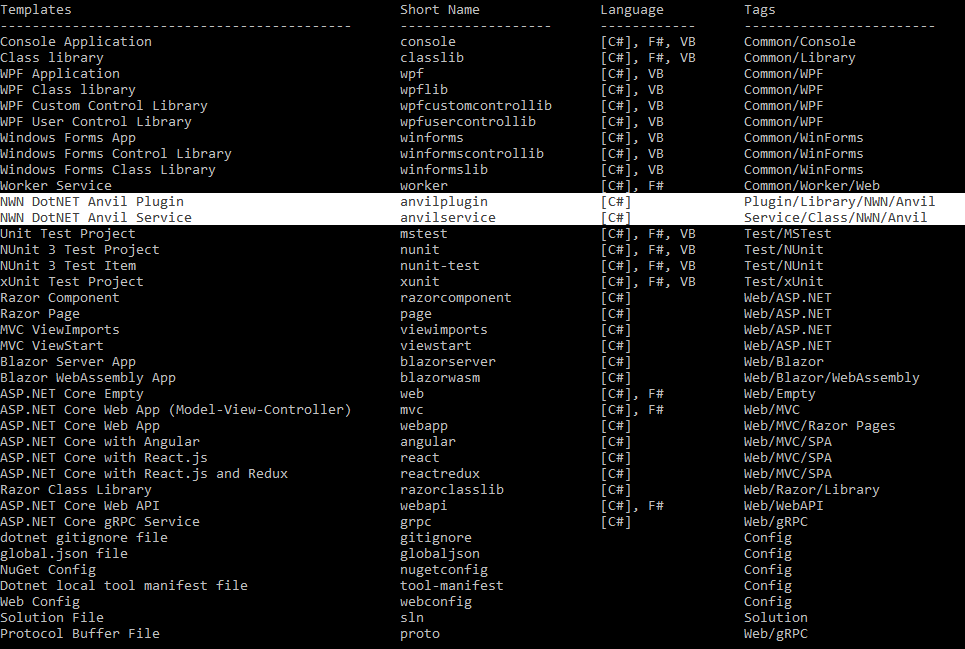
2. Install the Anvil Project templates
After installing the SDK, run the following commands to download and install the Anvil plugin project templates
dotnet new --install NWN.Templates
This will fetch the template package from nuget, the official package manager for .NET that is managed by Microsoft.
A project and file template are included with the package to help simplify the setup of the plugin project. The usage of these templates are covered in the plugin creation tutorials.
Once installed, you should see the new templates listed. Otherwise, you can list them manually using this command
dotnet new --list
3. Choose an IDE
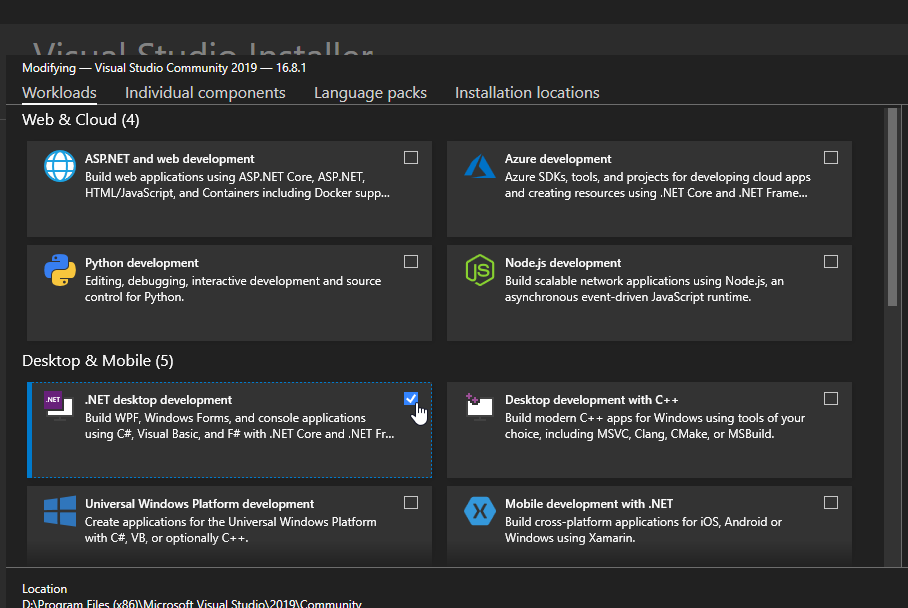
Visual Studio Community (Free, Windows)
https://visualstudio.microsoft.com/downloads/
In the installer, you will want to select the .NET desktop development workload
Visual Studio Code (Free, Windows, Linux, OSX)
https://code.visualstudio.com/
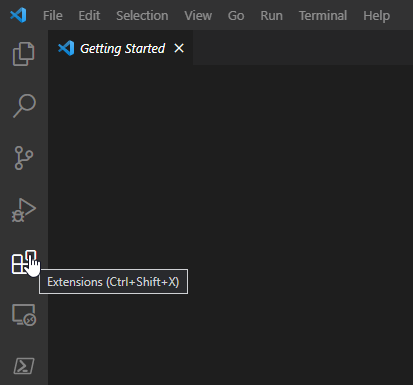
When you launch Visual Studio Code for the first time, you will want to click the extensions button on the left
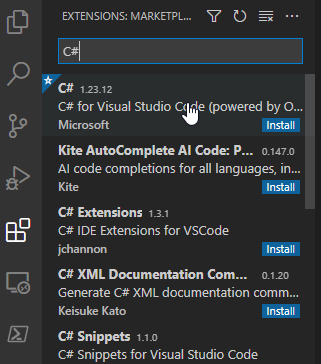
Then search and install the C# plugin
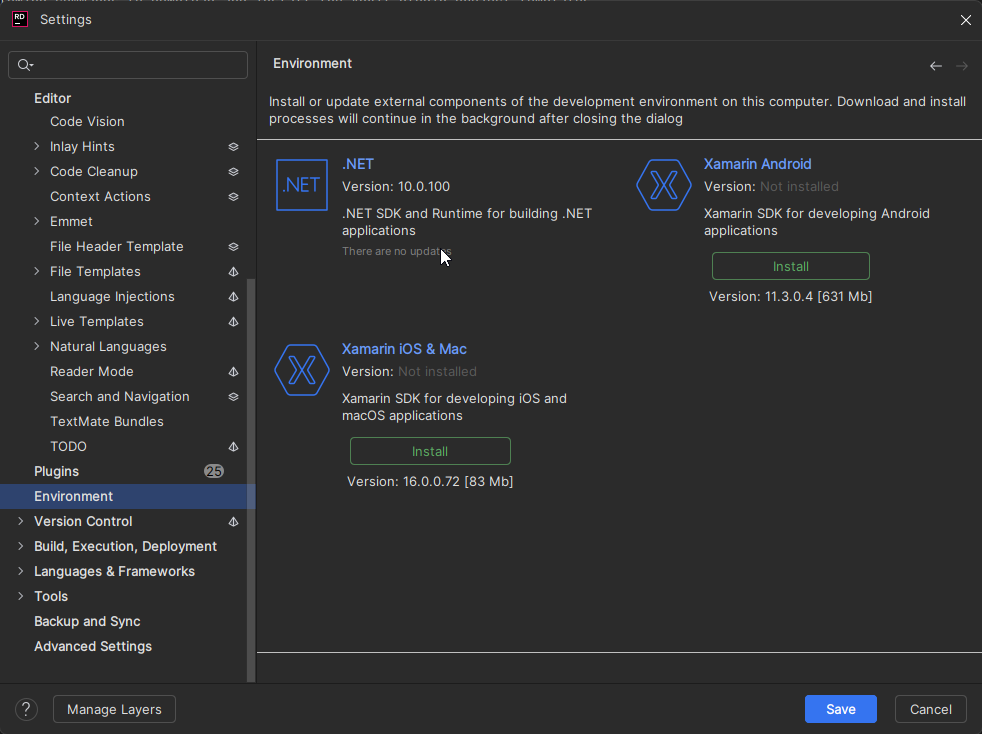
Rider (Paid/Free for open source, Windows, Linux, OSX)
https://www.jetbrains.com/rider/
Make sure the .NET environment is installed
4. Next Steps
You are now ready to develop plugins! The next step is to create your plugin project.
This is covered in individual tutorials based on your chosen IDE